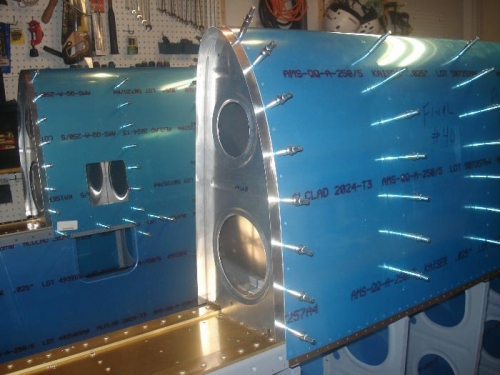
Brief Description: Right wing leading edge part #2
I repeasted the process for the first left leading edge on the installation of the W-408-I leading edge rib and the W-423 Joint plate.
Here's what I did:
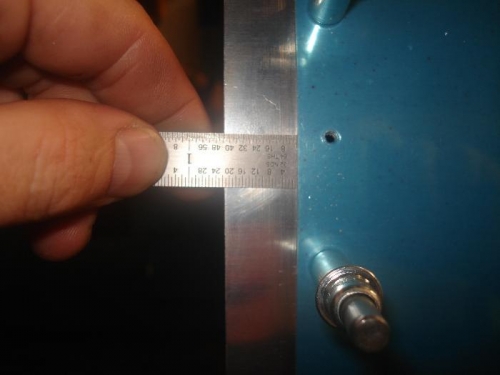
1. Slid the W-408-I in place and clecoed the flange to the main spar. 2. Used a sharpie and placed the holes from the skin onto the rib 3. Fluted the W-408-I 4. Found the centre of the flange on the W-408-I and drew a line down the centre 5. Slid the W-408-I back in place, started at the bottom aft, lined up the hole with the line 6. Drilled and clecoed along the way, lining up every line through the hole. and drilling to #40 7. Removed the W-408-I..no MED issues at all! 8. drew the 1/2 inch line on the outboard edge of the W-423 9. Placed it until I lined up my line with the holes,and clamped with 1 inch cleco clamps 10. Drilled and clecoed all the holes for the W-423. 11. Installed both the W-408-I and the W-423,lined up the holes and clecoed. Perfect results!
The right leading edge was then final reamed to #40.
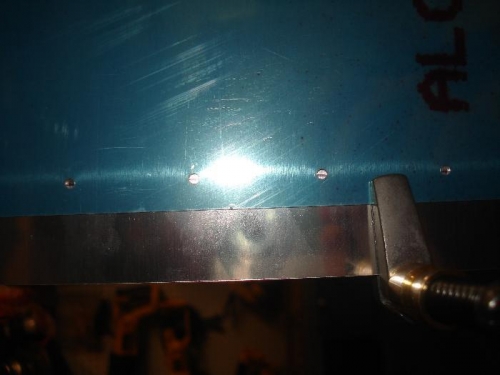
The 1/2 inch line on the W-423 seen through the rivet holes andclamped.